
In this tutorial, we’re going to teach you how to use simple elements at your disposal and combine them to create an eye catching digital illustration. We will work through techniques like lighting placement, clipping masks, shadows and more. If you want to improve your Illustration skills and composition then this tutorial is for you.
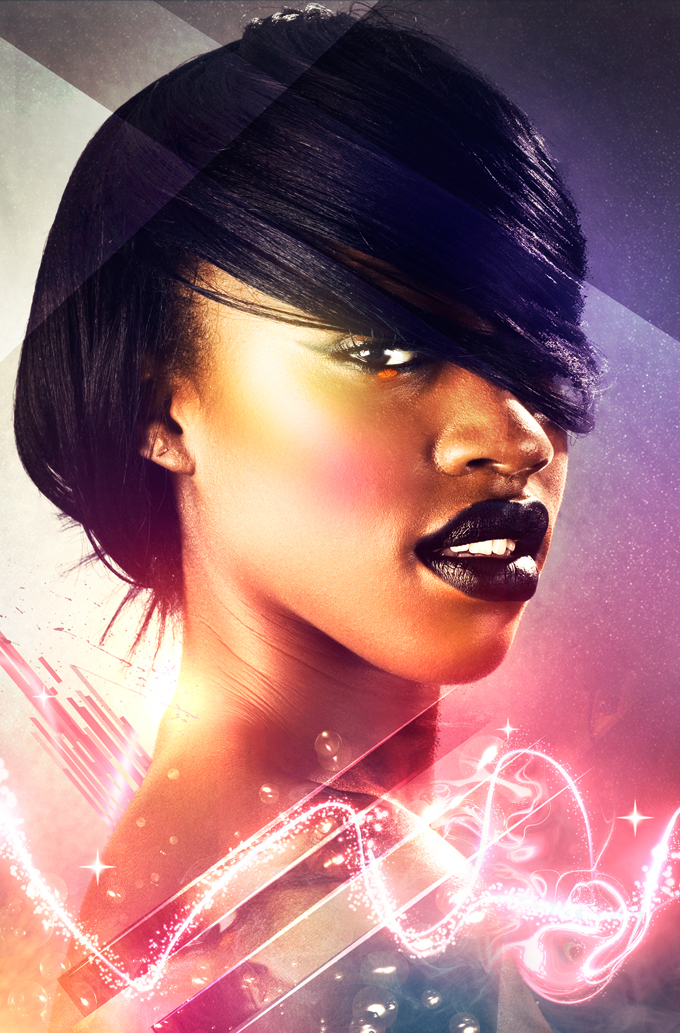
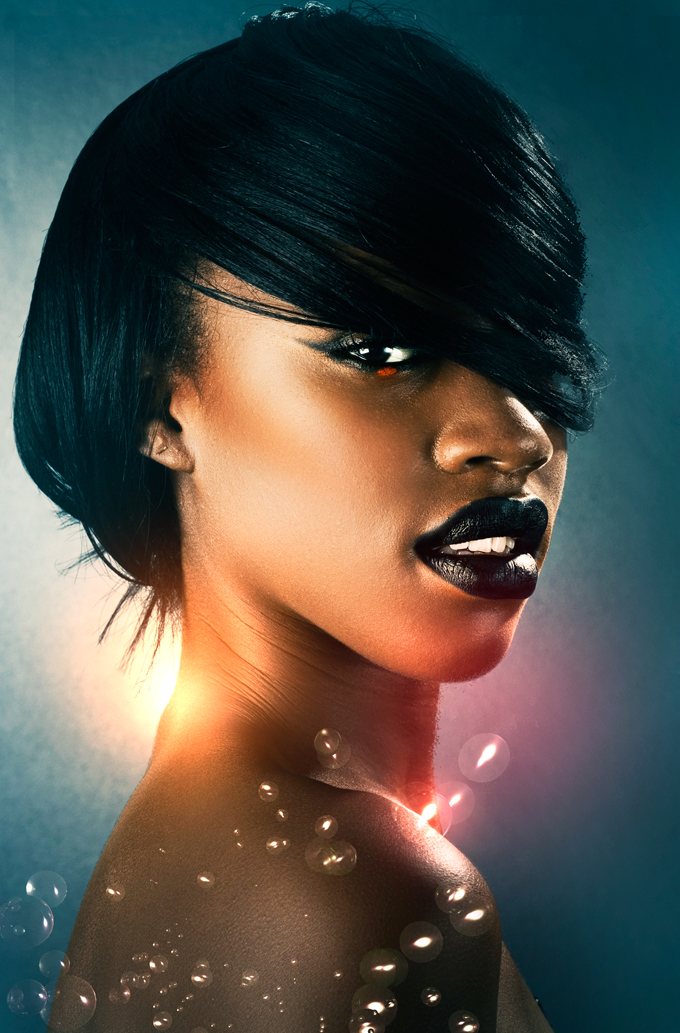
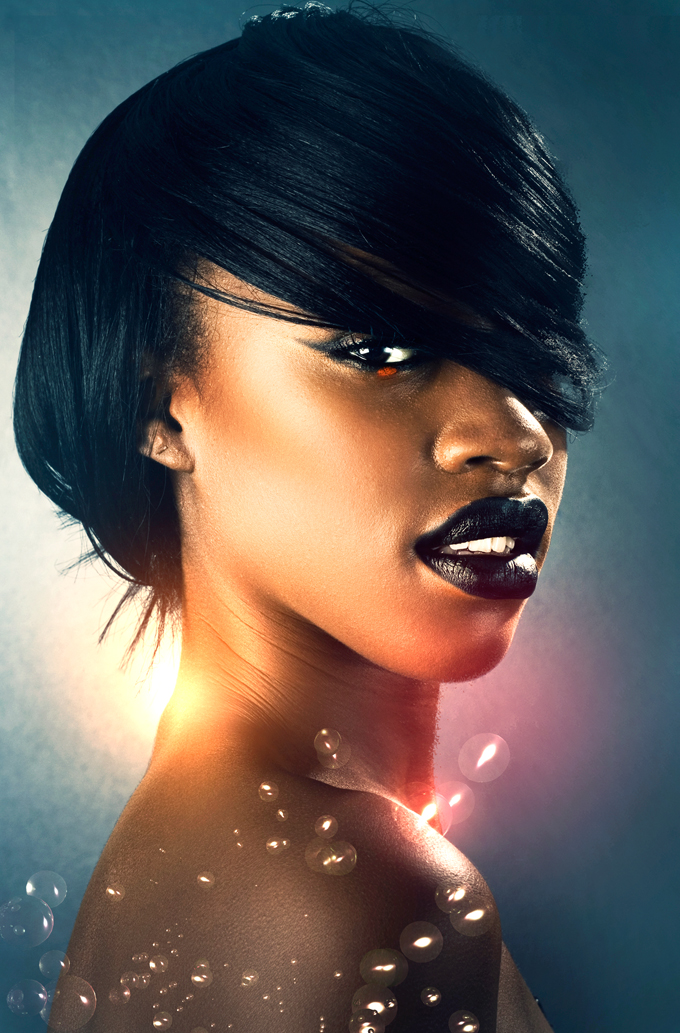
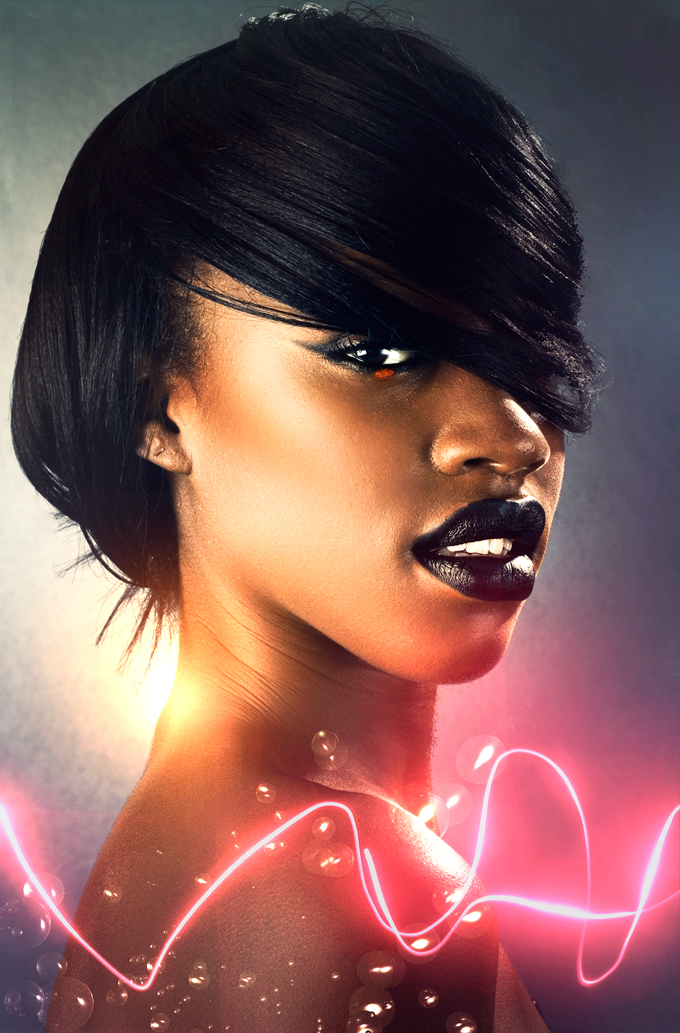
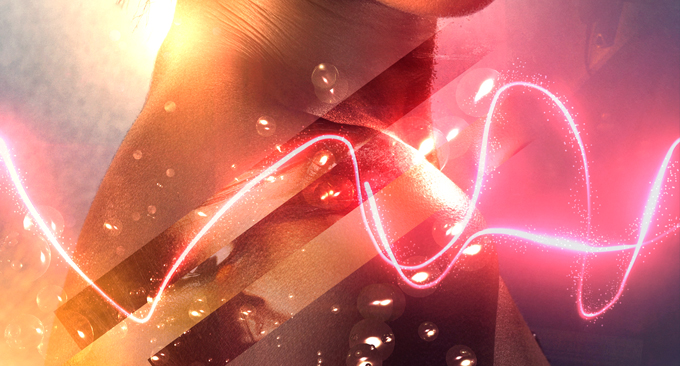
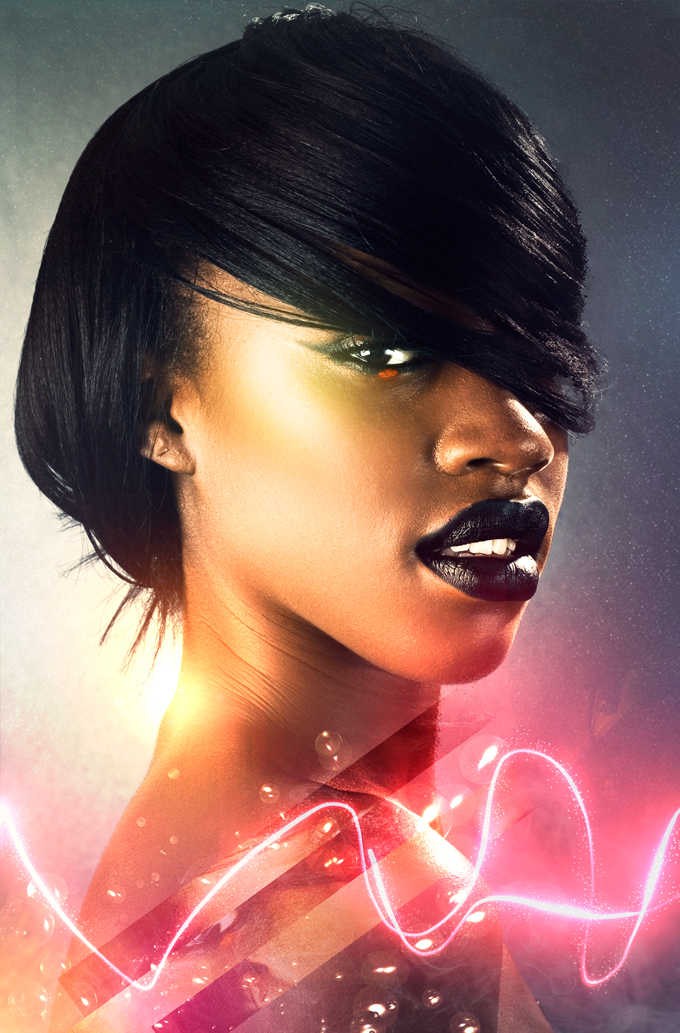
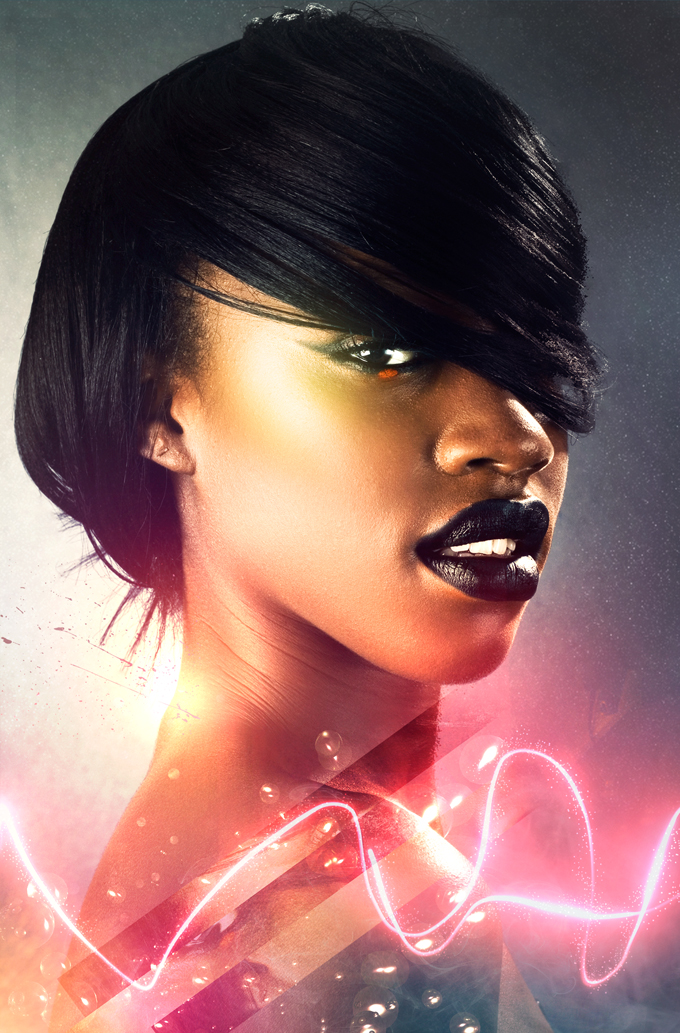
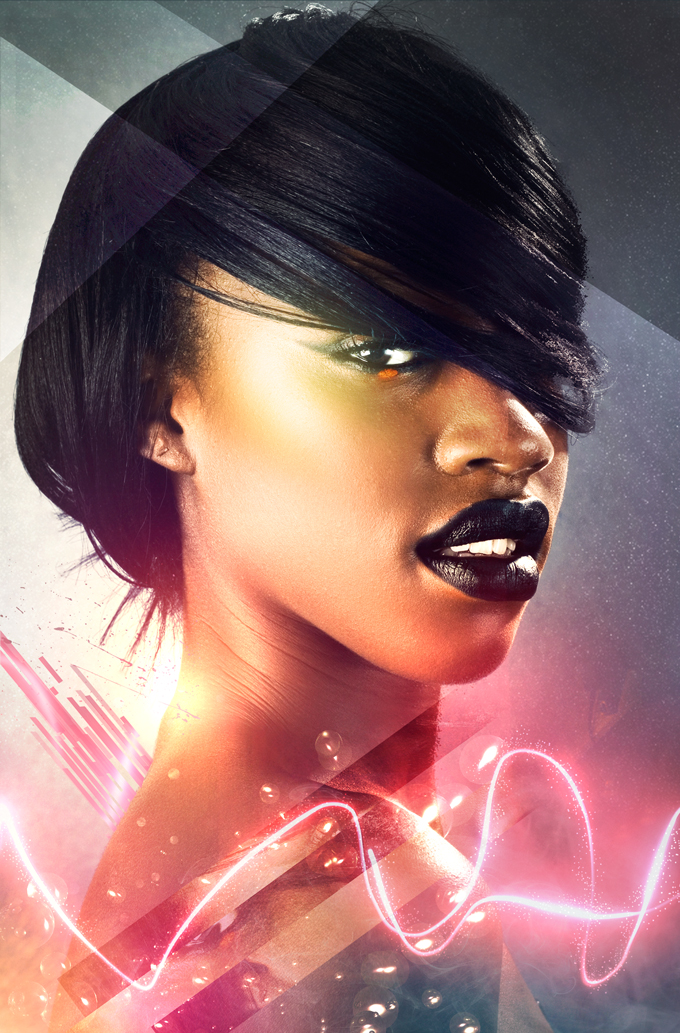
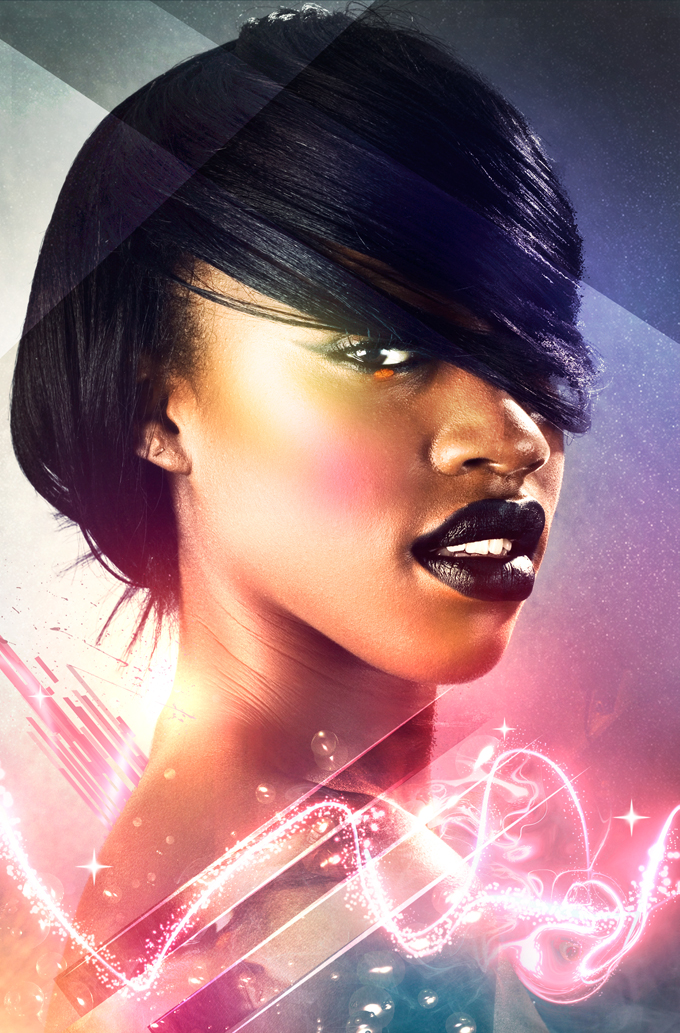
Final Preview
Tutorial Details
Completion Time: 1 hour 30 mins
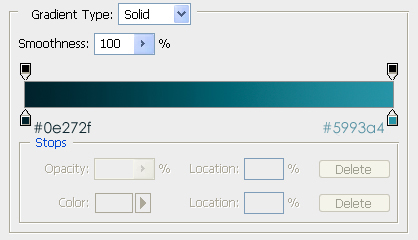
Stock: Beauty – http://www.istockphoto.com/stock-photo-3736351-beauty.php
Step 1
Open up Photoshop and import your stock photo, I used Beauty From IstockPhoto in this case. Once you have the stock photo opened up, duplicate the layer by right clicking on the background layer and hitting duplicate layer (CTRL + J). Its always good to have a copy of your original present in your composition.
Now let’s add a Image adjustment, go up to Layer>New Adjustment Layer>Gradient Map and use the default Gradient Black to White, now drop the opacity of the layer down to 52% and set the blending mode to Luminosity.
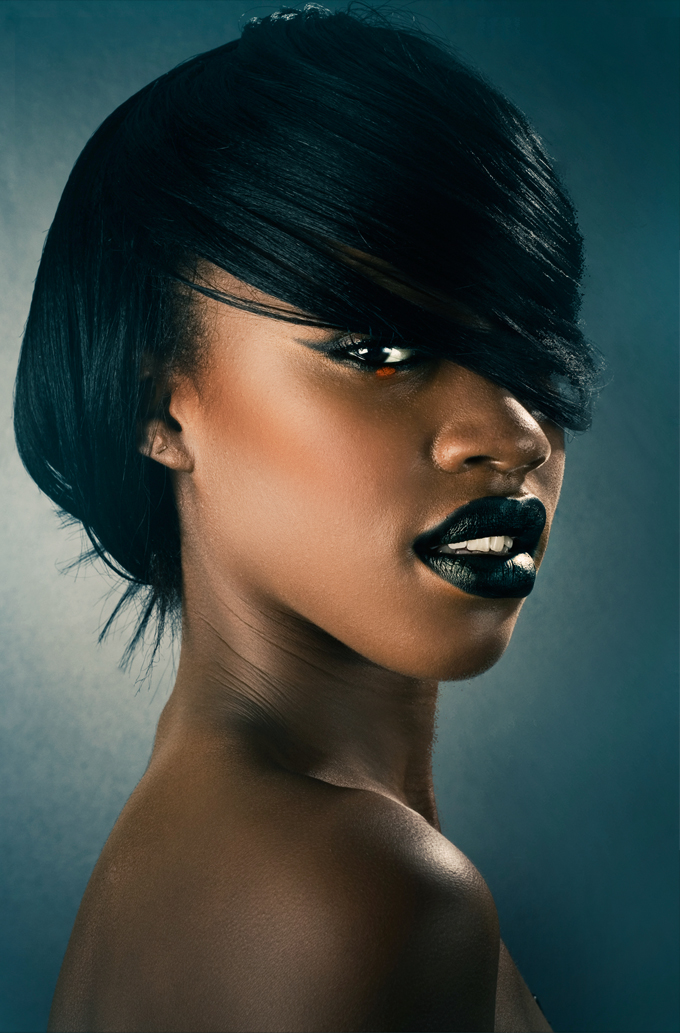
Go up to Layer>New Fill Layer>Gradient and hit the OK button and choose a gradient that runs Dark Blue(#0e272f) to Light Blue(#5993a4) Now set the Blending mode of that layer to Screen and erase parts of the layer that you do not want.
Step 2
Now get yourself a Bubble C4D that you like and import it into the image, Position it where you want it and change the Blending mode to Linear Dodge. I positioned the Bubble C4D on the Bottom part of her shoulder.
Now go up to Layer>New Adjustment Layer>Brightness and Contrast – Set your Brightness to +27 and your contrast to +39 and hit OK.
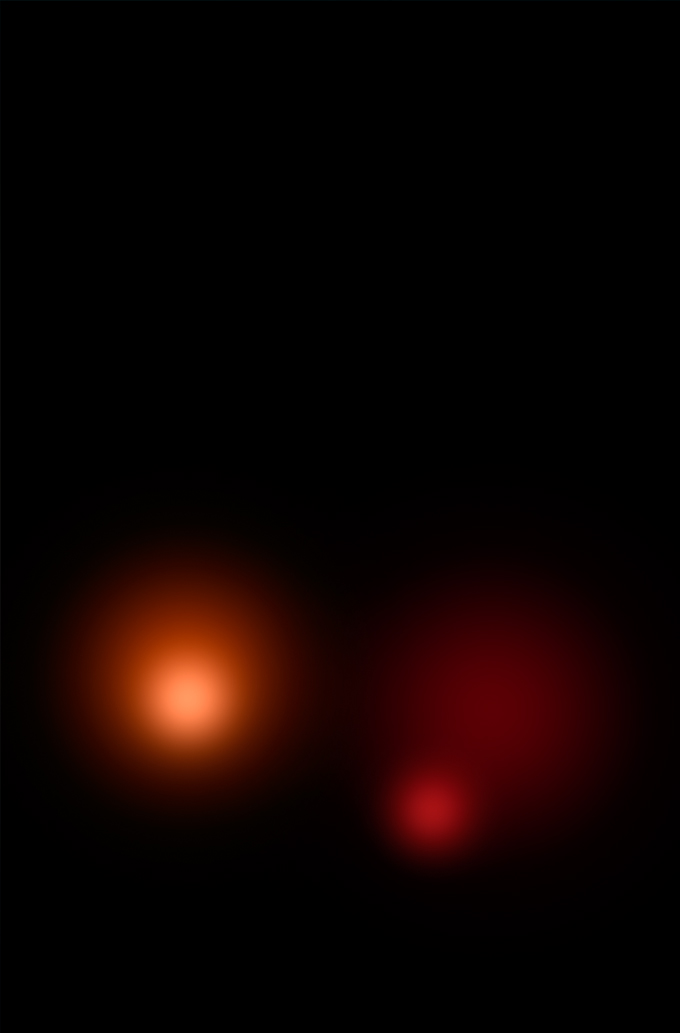
After setting up a new adjustment layer, create a new layer by going to Layer>New>Layer (CTRL + SHIFT + N) and Fill it with Black(#000000) set the blending options of the layer to Linear Dodge and grab your Brush Tool from your toolbar. I used a 500px sizes brush with bright orange(#ff6b00) and Faded Red(#7f1618) to Create two large lighting circles. I then scaled down the brush and used a soft white brush to just add some lighting depth to the circles and this is what it looked like without the blending mode active.
Step 3
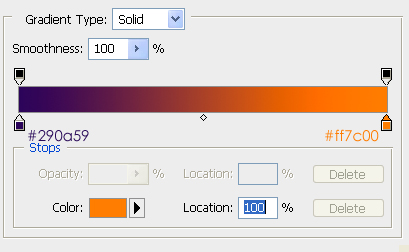
We are going to use this step to add a few adjustment layers to our piece. Firstly go up to Layer>New Adjustment Layer>Gradient Map and choose the stock Purple(#290a59) to Orange(#ff7c00) Gradient and set the blending mode to Screen and the Fill to 13%.
Now go up to Layer>New Adjustment Layer>Curves bend the curve slightly down, you will have to play around with the curves to get your desired depth on the image itself. Now go up to Layer>New Adjustment Layer>Levels and set your levels to 6 – 1.13 – 253
After setting up those adjustment layers, you should have the outcome show below:
Step 4
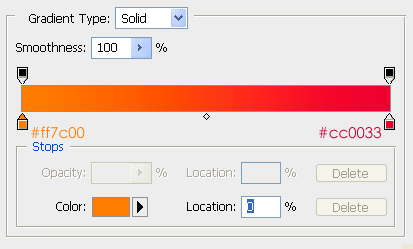
Now we will create a new layer by going to Layer>New>Layer and then grab your gradient tool, (Shift + G) then set your gradient colors: Orange(#ff7c00) to Pink(#cc0033) and drag it from the top left hand corner to the right bottom corner and then set your blending mode to Soft Light and your Opacity to 30%. Be sure to erase any part of the gradient you don’t like.
The next part I used a Lighting Image that I download from Barton Damer that he shared with us last year, but he has since removed the pack for download and I am not able to share the full image with you guys, sorry for that. What I would have done is get hold of some long exposure photos that either you have taken or bought from somewhere. I integrated the image into the composition and set the blending mode to Linear Dodge and the opacity at 87%
Step 5
Now you are going to create a scatter brush, choose your brush tool (B) and choose a reasonably small size brush in the range of 2px – 5px and a Hardness of 100% and then go to Window>Brushes now check out the settings in the images below.
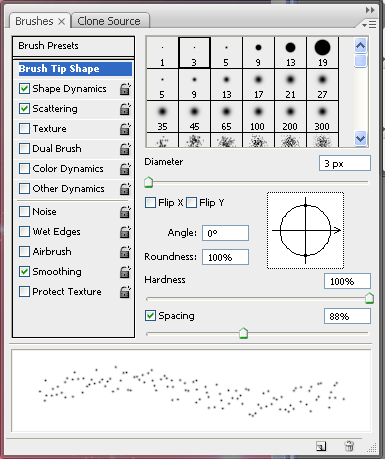
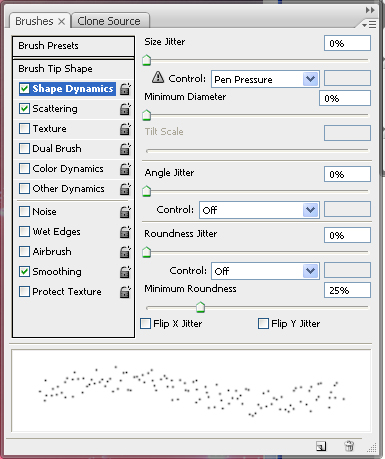
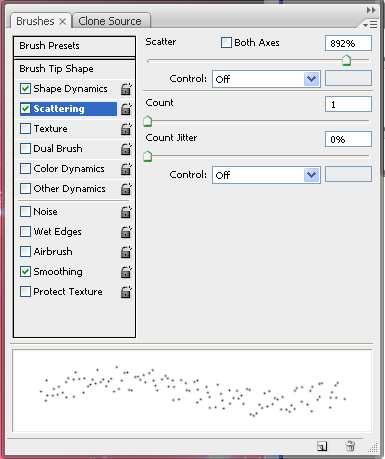
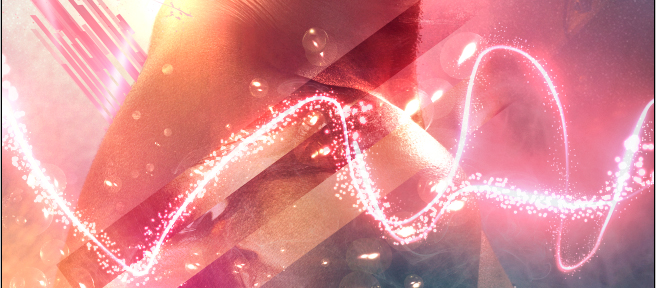
After setting up your brush create a new layer by going to Layer>New>Layer (Ctrl + Shift + N) and then choose white as your foreground color and brush along the lines of your previous layer, the lighting effect/exposure shot. You should have something like this.

Step 6
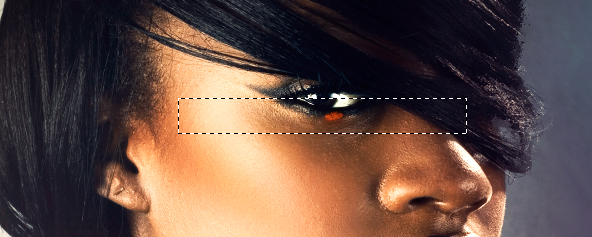
In this step we are going to use parts of the image itself to create a new element to use, Firstly create a new layer by going to Layer>New>Layer and then go to Image>Apply Image (Ctrl + Shift + Alt + E) now grab your marquee tool and draw a small rectangle on her face, you can choose where, but I chose across her nose and eye and then hit (Ctrl + Shift + C) That merge copies the current selection.
Now create a New Layer by going to Layer>New>Layer (Ctrl + Shift + N) and then go up to Edit>Paste this will paste the copied piece in a new layer. Now go to Edit>Free Transform (Ctrl + T) and rotate the selection 45 Degrees.
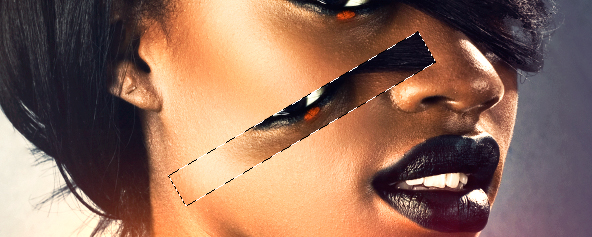
Now set the Blending Mode to Soft Light and Move it down into the Lighting Area, I copied the selection twice and just moved them around on top of each other to create a vibrant feel. I also erased the parts that I don’t like to blend it in better.
Step 7
Now create a new layer by going to Layer>New>Layer and fill that layer with black(#000000) now set the blending mode of that layer to Linear Dodge and Grab your Brush tool, use a moderate size tool of about 500px with hardness set to 0%. Use a Dark Yellow(#f38d30) as your foreground color and brush in the bottom left corner of the piece. Remember to brush on the same layer that you filled with black. Now with the same layer selected go up to Filter>Blur>Radial Blur and use the zoom effect at 100% you should have something like this.
Next I used a Smoke Image that I got from SXC – http://www.sxc.hu/browse.phtml?f=view&id=788872 and imported it into the composition. I then set the blending mode to Linear Dodge and set the Opacity to 27% I then Used Free Transform Edit>Free Transform to rotate the image to the left a bit and move it down into the comp to compliment the flushed lighting at the bottom.
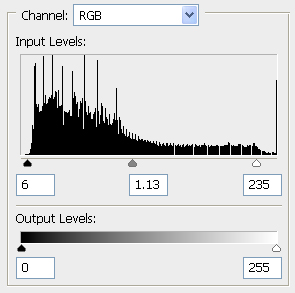
I then created a new layer Layer>New>Layer and filled it with black(#000000) I then went to Filter>Noise>Add Noise and set it to 33% Uniform and Monochromatic noise and hit OK. I then went to Image>Adjustments>Levels and used the settings below:

Now set the Blending Mode of the layer to Linear Dodge and the Opacity to 37% and erase the areas over her face and the areas you don’t want. You should have something like this.

Step 8
In this step we will be leveling out the lighting in the piece a bit. Firstly create a new layer by going to Layer>New>Layer and then grabbing your brush tool at a medium size set the blending mode to Linear Dodge and then use a bright color ex.yellow or white to fill in the lighting gaps on the left hand side of the image, play around with the strength of the brush to determine how bright you want the actual brushing to be.
Next create another new layer and then set the blending mode to Linear Dodge now with the same brush choose a Soft Green (#c1b568) and brush it along the side of her eye, above her cheek.
Next create another new layer and set the blending mode to Linear Dodge and now using a bit larger brush with the color Pink(#c03369) brush on the bottom of the image to equal the pink at the bottom. You should have something like this.
Step 9
Now create a new layer by going to Layer>New>layer and then grabbing your brush tool and picking a nice splatter brush to use. Now brush on the back of her neck with the splatters moving away from her. Now hide that layer and create a new layer. Now go to Image>Apply Image and then unhide the layer that you previously hid that contains the splatter brushing now with the new applied image layer selected press (Ctrl + G) or right click on the layer and select Create Clipping mask. Now grab your Move tool (V) and then move the image around, you will see the image moving around within your splattered brush. Move the image around until you are totally satisfied with it.
Now Create a New another New Layer and select your Brush tool, but a normal Large soft brush ex 900px now select a soft blue color(#00acec) and brush on the bottom of the image on the right hand side, Now select Pink (#c03369) and brush on the left hand side, after you have brushed set the Blending mode of the layer to Linear Dodge.
Now go to Layer>New Adjustment Layer>Black and White and then hit OK. Set the Opacity to 53% and then erase parts of the layer that cover her face and the colors on the bottom. You should have something like this.
Step 10
We will start off by going to Layer>New Adjustment Layer>Gradient Map and then use the default black to white gradient and set the blending mode to Multiply and then erase the sections that you don’t want part of the gradient map.
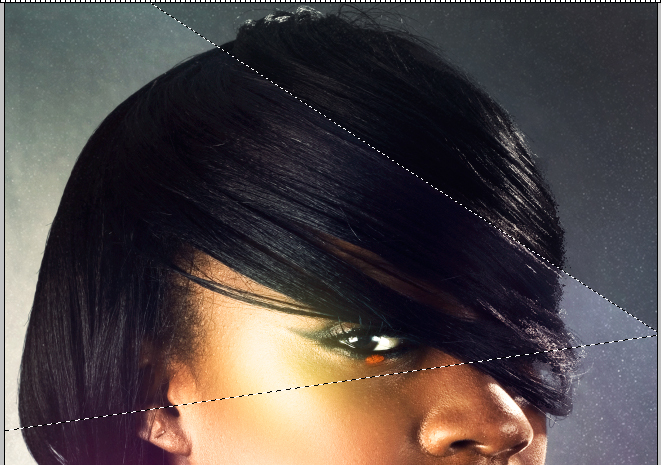
Now in this section grab your Polygonal Lasso Tool (Shift + L) and then make a selection in the upper section of the piece that runs 45 degrees like seen below.
Now create a New Layer by going to Layer>New>Layer and then grab your gradient tool and set the gradient- white to nothing. And then drag your gradient tool from the top right to the bottom left within the selection then deselect the selection by going to Select>Deselect and then change the blending mode of your layer to Overlay and the Opacity to 58%. Now repeat that process about another two times putting them where you want them to be and where it suites your image.
Step 11
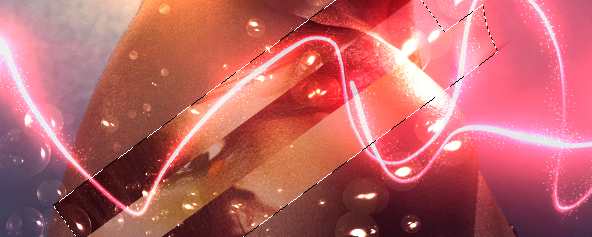
Now use the same scatter brush technique that you used in STEP 5 and Create a New Layer and fill it with Black then set the Blending mode to Color Dodge and opacity to 82% and then use a White scatter brush, a bit larger than the previous one though. Brush along your exposure lines and erase the parts you don’t like.
Now create a new layer by going to Layer>New>Layer and then go to your brush tool and select a 19px hard brush and then grab your pen tool (P) now drag a line on your earlier copied face layers and then stroke that layer with simulate pressure, offset it a little bit though. Set the Blending mode of the layer to Overlay and now repeat that process on the other edges of the copied piece.

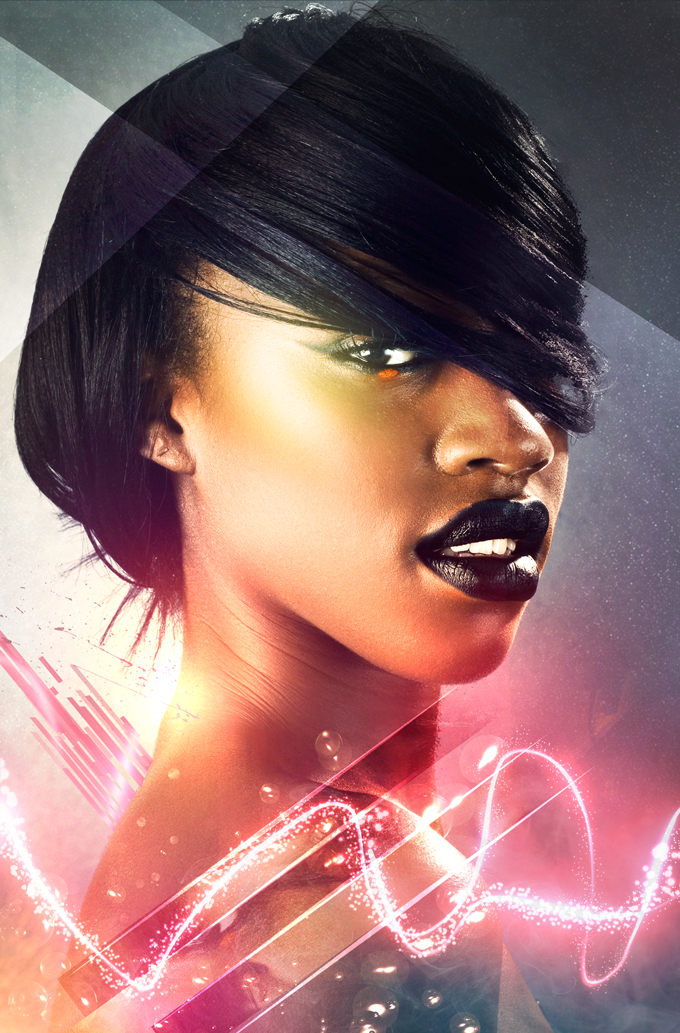
You should have something like this:
Step 12
Create a New Layer and fill it with black. Set the Blending mode to Linear Dodge and Opacity to 60% now grab a Large Soft Brush and use the color Blue(#00acec) and brush on the bottom right hand side of the image and then use a soft Pink(#ff74d1) brush in the middle on the right hand side. You can use the colors that match your image if you aren’t following my exact tutorial.
Create a New Layer and then go to Image>Apply Image now go up to Filter>Liquify then use the Twirl Brush in the Liquify toolset and create random swirls and motions. Hit OK when you’re done and then set the Blending mode of the Layer to Lighter Color and erase all the parts that you do not want present in the image.
Now create another new layer and then set the Blending Mode to Color Dodge and grab your Brush Tool and select a Large Soft Brush and use the color Purple(#3b2d82) to light up the top of her head on the right hand side. You should have something like this.
Step 13
Create a Gradient map by going to Layer>New Adjustment Layer>Gradient Map and use the Default Black to White Gradient and set the Blending Mode to Luminosity and the Opacity to 44% Now create a new layer and use a Soft Pink brush(#ff4dd7) and brush on her check for some shine.
Now Create a new Layer by going to Layer>New>Layer and then setting your brush size to 10px and then grabbing your pen tool. Now Drag a small line with your pen tool and then stroke that line with Simulate Pressure and delete the path by right clicking>Delete Path. Now with the Layer selected hit (Ctrl + J) or right click on the layer and hit Duplicate Layer. Now use the Free Transform (Ctrl+T) tool to rotate the stripe 90 degrees. On the same layer grab your brush tool and increase the size of the brush and use it to make a dot in the middle of the corresponding stripes. Now press (Ctrl + E) to merge one layer down. Now move the star around to where you want to place it. Now duplicate it by right clicking on the layer and pressing Duplicate Layer and then move it around to another place. Play around a bit by duplicating them and resizing them to suite your needs. You should have something similar to me below.
Step 14
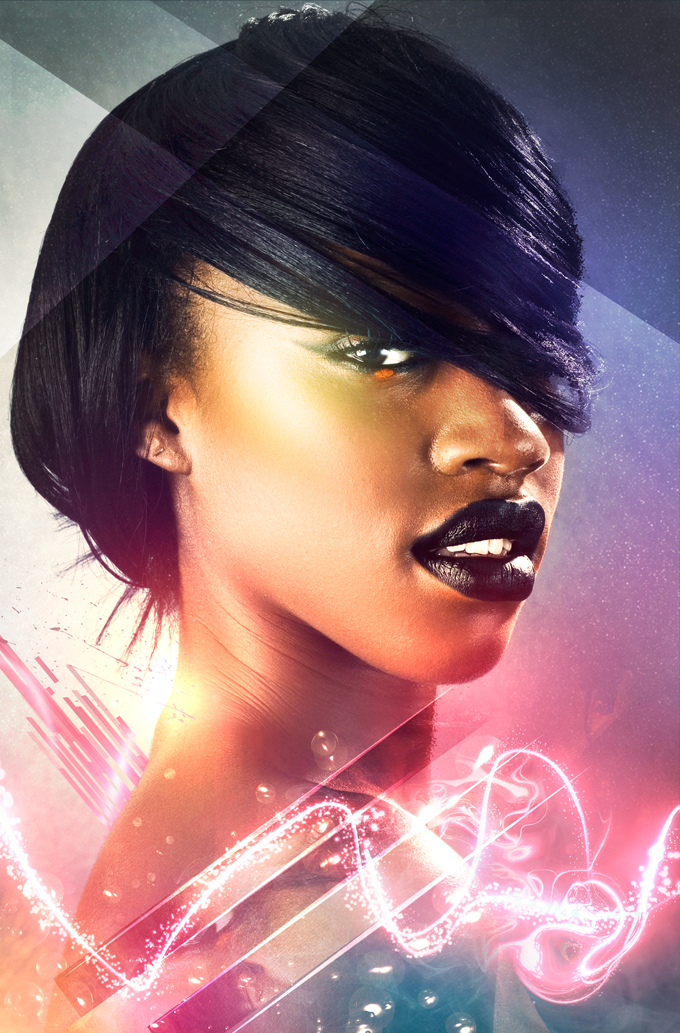
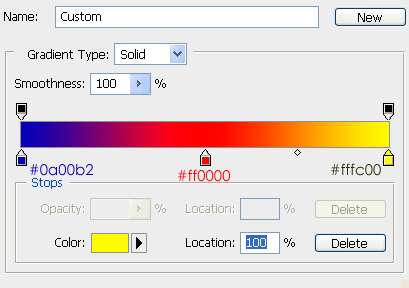
Last but not least create a new gradient map by going to Layer>New Adjustment Layer >Gradient map and choose the blue(#0a00b2) to Red(#ff0000) to Yellow(#fffc00) gradient and then hit OK. Set your Blending mode on the Layer to Soft Light and The Opacity to 18% and you’re done.
Thanks for reading the tutorial.
About the Author
Artist: Jacques van Heerden // An1ken
Portfolio: www.an1ken.net
Twitter: @An1ken – www.twitter.com/An1ken
Blog: www.creativeoverflow.net