
How to Transform your Image into a Robot
In this tutorial, you will learn how to create an amazing futuristic photo manipulation and …
April 10, 2015
Photo Effect, Photoshop Tutorial

How to Apply 3D Effect to your Image
Most of you may love 3D movie or image. If you want to turn your …
April 9, 2015
3D Effect, Photoshop Tutorial
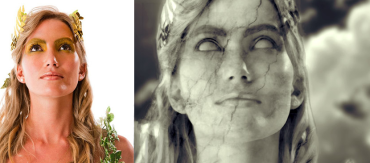
Turning your Image into Statue
This tutorial is going to take you back in time by turning your favorite photo …
April 8, 2015
Photo Effect, Photoshop Tutorial
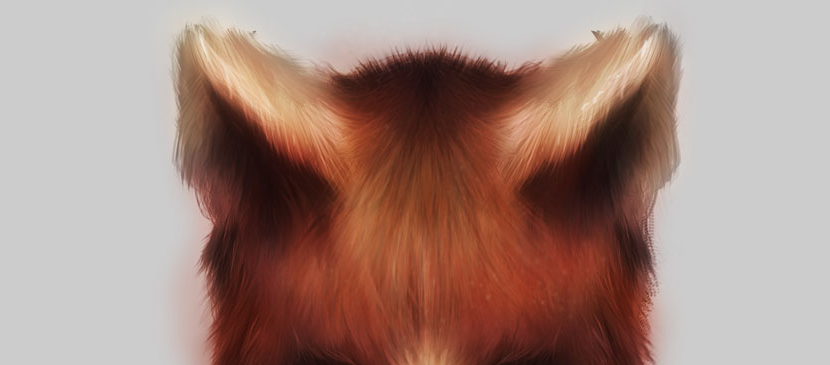
Painting Nice Fur for Animals
In this tutorial, you will see how to create a small set of custom brushes …
April 7, 2015
Drawing Effect, Photoshop Tutorial

Making a Rock Text Effect in Photoshop
In this tutorial, it will show you the steps to create this rock text effect …
April 6, 2015
Photoshop Tutorial, Text Effect

Making a Fashion Magazine Cover for your Image
In this tutorial, you will learn how to create your own cover for a fashion …
April 4, 2015
Photo Effect, Photoshop Tutorial

Photoshop Lady Market Launched!
Photoshop Lady Group is taking one more step to launch a market place today. We …
April 2, 2015
General
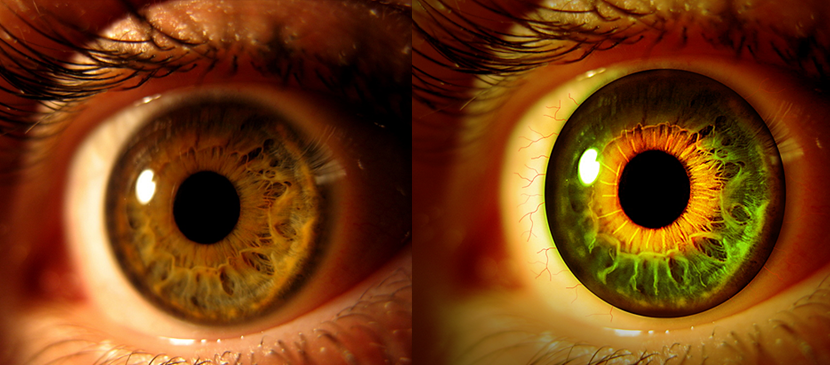
Manipulation of Different Color for your Eye
In this Photoshop tutorial, you will learn how to create an Eerie Eye Photo Manipulation. …
April 1, 2015
Photo Effect, Photoshop Tutorial
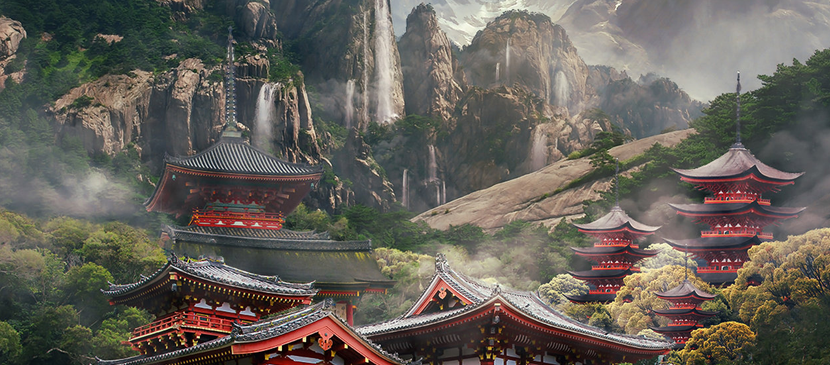
Making an Imaginative Landscape for Temples
This tutorial shows how to develop a amazing and meditative landscape of the mysterious East …
March 31, 2015
Photo Effect, Photoshop Tutorial

Painting a Nice Cartoon Lady Portrait
This tutorial will show you the steps of making a nice cartoon character portrait in …
March 30, 2015
Drawing Effect, Photoshop Tutorial

Manipulation for a Lighthouse in an Icy Place
This will show you to composite a lighthouse located in an icy environment. Most of …
March 27, 2015
Photo Effect, Photoshop Tutorial
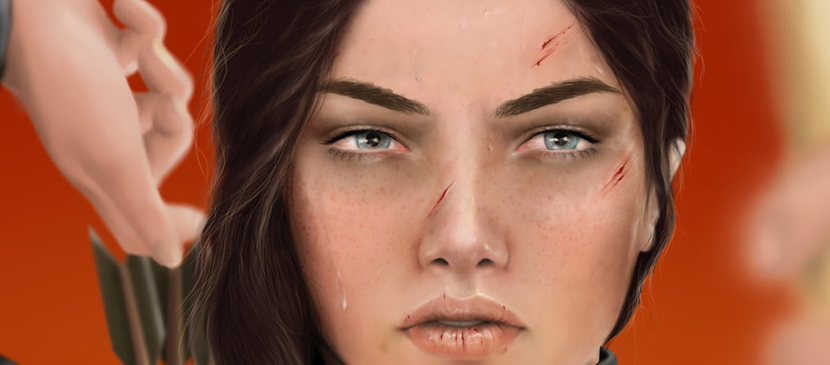
Making Cuts and Sweat on a Human Face
To make some realistic battle scene, cuts or wounds on the human skins are necessary …
March 26, 2015
Drawing Effect, Photoshop Tutorial