
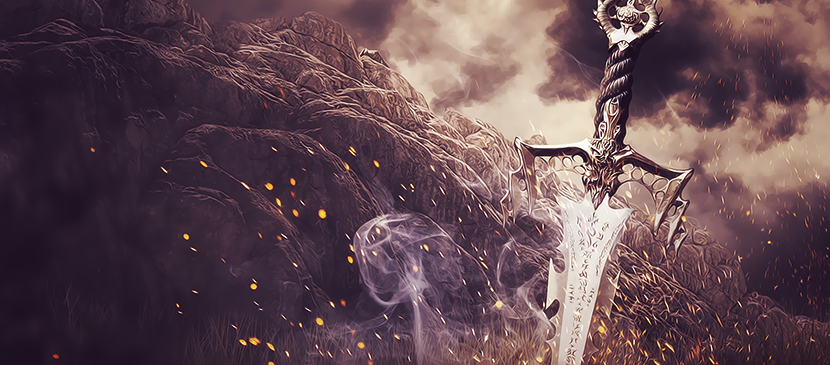
Compose a Surreal and Medieval Style of a Battlefield
Here, you will learn how to make an epic photomanipulation in medieval-fantasy style and you …
October 28, 2015
Photo Effect, Photoshop Tutorial
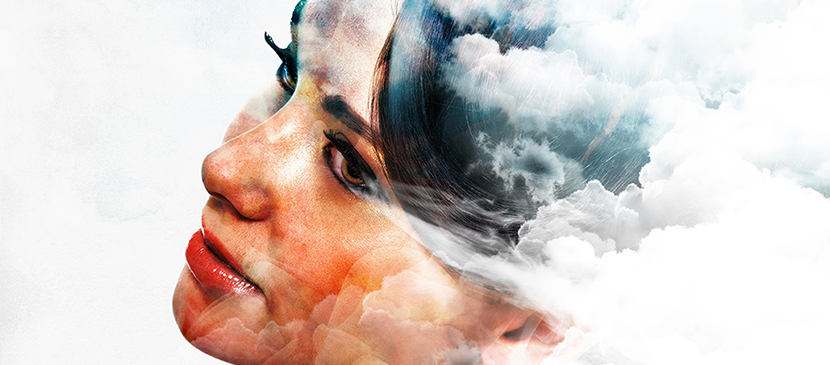
Awesome Digital Art Portrait of Zephirus
Emi Haze is an Italian digital artist and illustrator who has a strongest passion for …
October 26, 2015
General
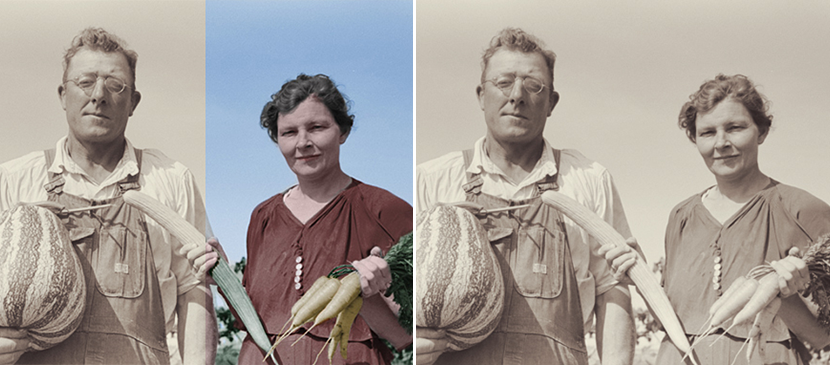
How to Colourise an Old Photograph in Adobe Photoshop
Colourising a black-and-white image can seem like a real challenge, but although it takes time …
October 23, 2015
Photo Effect, Photoshop Tutorial
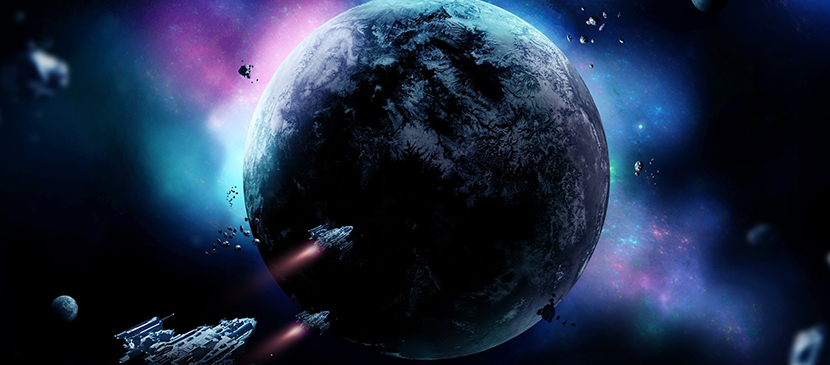
Design a Sci-Fi Outer Space Scene
Fantastic about the cosmic space? This tutorial will create a sci-fi artwork with planets, spaceships …
October 20, 2015
Photo Effect, Photoshop Tutorial
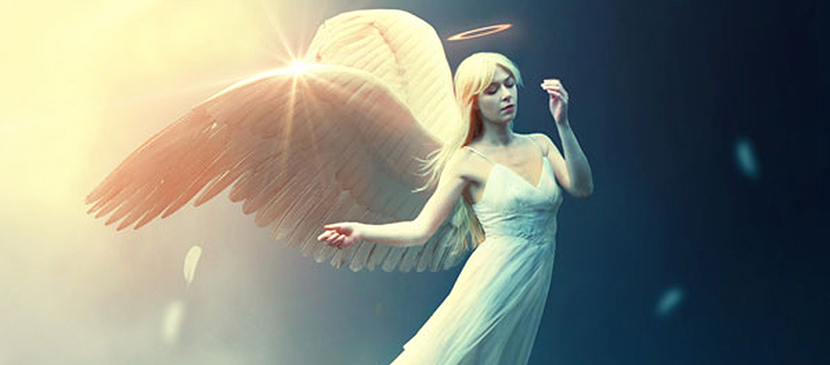
How to Create a Fantasy Angel Scene
This Photoshop tutorial will show you how to create a fantasy angel scene. You’ll learn …
October 19, 2015
Photo Effect, Photoshop Tutorial

Create Stylized Hay Bale Typography in Photoshop
As we push further into autumn (in some parts of the world) many designers might …
October 16, 2015
Photoshop Tutorial, Text Effect

How to Create a Candy Cane Text Effect
This tutorial will show you a super easy way to create a glossy candy cane …
October 15, 2015
Photoshop Tutorial, Text Effect

Create a Shiny, Posh Crystal Text Effect
Displaying stylish text is a potent element in web and graphic design while Adobe Photoshop …
October 13, 2015
Photoshop Tutorial, Text Effect

How to Create a Relaxing, Vibrant, Fantasy Lake Scene
Photo manipulation may be one of the funniest things you can do with Photoshop but …
October 8, 2015
Photo Effect, Photoshop Tutorial
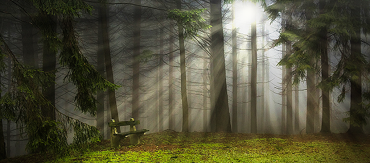
Add Light Rays to a Photo in Photoshop
In this tutorial we’ll learn to add some light rays to a photo in Photoshop. …
September 29, 2015
Photo Effect, Photoshop Tutorial
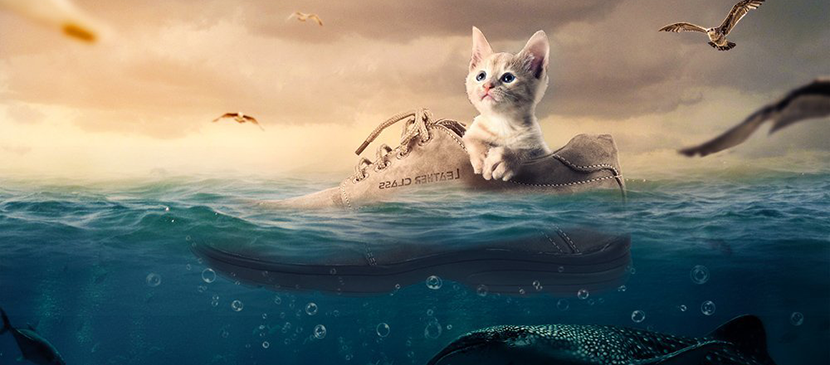
Compose a Surreal Underwater Scene With Adobe Photoshop
It’s quite easy to simulate water and underwater scenes with Photoshop. The following underwater effect …
September 25, 2015
Photo Effect, Photoshop Tutorial
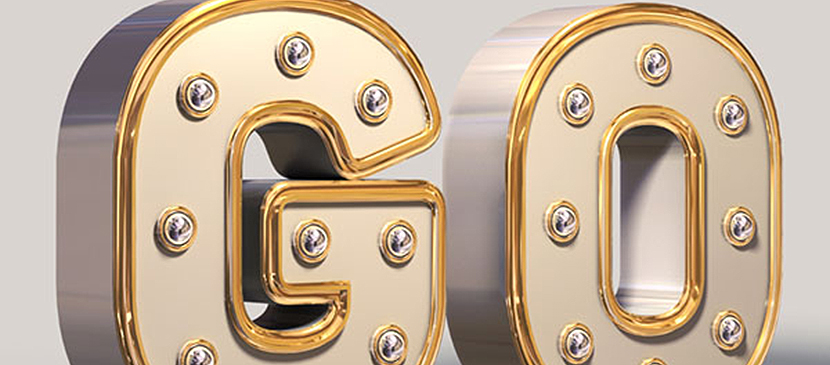
Create a Shiny Golden 3D Text Effect
There are thousands of text effects, but to be special, Photoshop’s 3D environment shall be …
September 24, 2015
Photoshop Tutorial, Text Effect