
How to Design a Stunning Business Card in Photoshop
If you think business cards don’t matter in today’s professional world, think again. Today, it’s just as important as ever to have a business card that defines your business brand and stands out from the crowd.
There are lots of reasons that you should put some thought into designing a seriously stunning business card.
Business cards are still the go-to 2.tool for sharing your contact information with your network. Plus, even in today’s digital age, there are those who don’t use technology to access referrals. And, they provide promotional opportunities and additional benefits that you just can’t get from other types of advertising.
Luckily, you can create your own top-notch business card in photoshop by following just a few simple steps.
Want to learn how it’s done?
Find out how to design your own stunning business card here!
Design Your Own Business Card in Photoshop: Here’s How
According to Entrepreneur, having your own unique business card is still an important asset among today’s leading professionals. Other than being the first impression of your brand, Entrepreneur calls business cards the most effective direct marketing tools that you can have.
Need help designing your own original, stand-out business card?
Take our cues to create a one-of-a-kind business card in photoshop that you’ll be proud to pass out to friends and colleagues.
1. Load Photoshop and Start Task
First, you will need to load Adobe Photoshop on your computer. Then, click “CTRL+N” to start a new file.
2. Specify the Size and Resolution
Once the dialogue box opens, you need to set the size of your new project to 3.75 inches tall by 5.25. This is the standard size that’s typically used for business cards so it will ensure that yours is sized just-right and doesn’t come out with obscure dimensions.
Then, you will need to select CMYK from the “Mode” box and set the file resolution to 300 dots per inch or higher.
This step ensures that your business card will fill the designated space completely, which is also known as the “bleed”. And, it will make sure that your text and graphics are created in a readable, appropriate resolution.
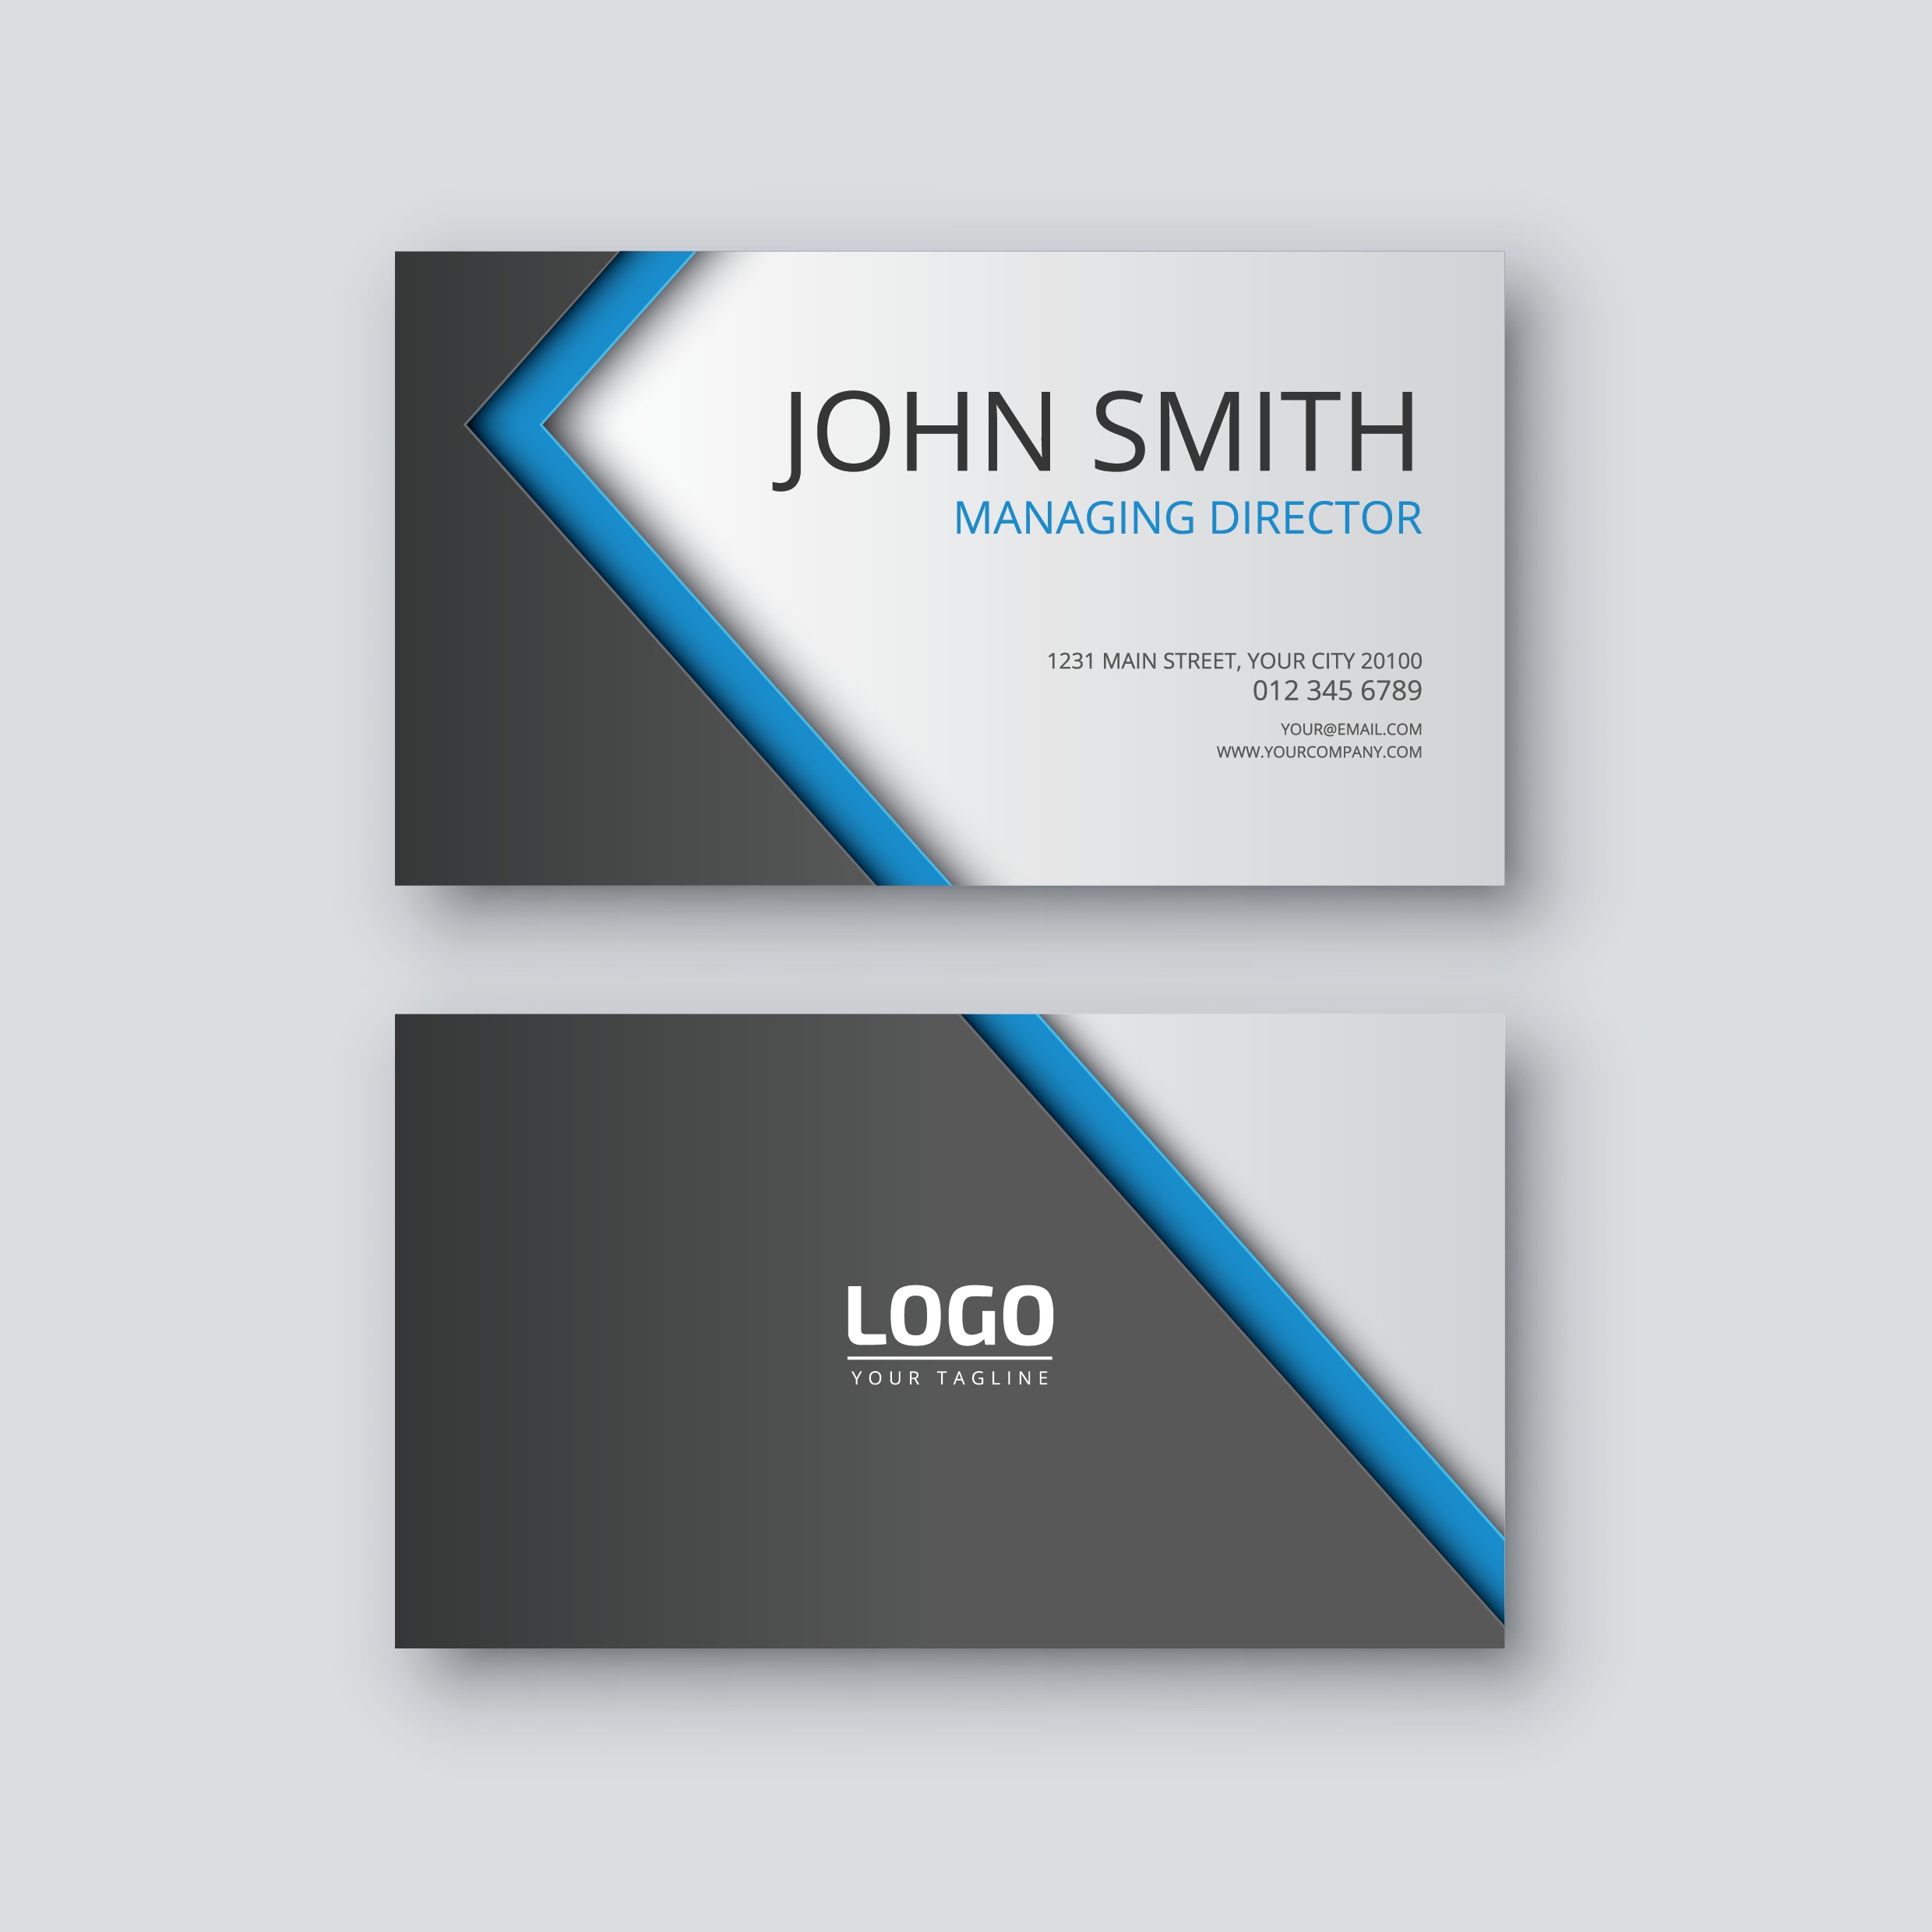
3. Enter Your Contact and Business Information
Click “Type”, which is located on your Photoshop toolbar. Click inside of the open document to type in your full name, address, phone number, website address, and your email address. Make sure that you double-check for any spelling or grammatical errors so that you don’t end up having to repeat your steps.
If you would like to change the alignment of your information, click the “Paragraph” tool, which will give you the options of left, right, or center.
To choose the font that you prefer, click the “Character” tool. You might want to try a few different fonts before making a final decision, then choose the one that you like best.
There are lots of cool and interesting fonts and text design options that are available in Photoshop. With some experimentation, you’re sure to find a font that’s perfect for your company.
4. Add an Image
Click “CTRL+O” to open a new file. If you have your logo or another image that you would like to add, browse for the image file on your computer. Then open the file, and ‘click and drag’ the image to the position that you desire on your business card.
You might want to consider inserting an image that represents your brand, and one that your audience would most likely find attractive or interesting.
5. Add Your Motto or Slogan
Add a new text box by clicking on the “type” tool again. When the text box appears on your computer screen, add the motto or slogan that you want to appear on your business card.
If desired, you can then adjust the text according to your preferences with the “Character” or “Paragraph” windows, as described in the above steps.
6. Save Your Work
Click “CTRL+ S” to save the Photoshop file.
It will save automatically as a PSD file. If you want to save the file in a different form, go to the “File” menu and select “Save as Copy”. You can then choose to save it as a TIF, PDF, or JPEG file.
Often, the printer that you are using to print your business cards will require that you print in one of these formats. Even if you are not printing your cards immediately, it might be a good idea to go ahead a save a copy in one of these commonly requested formats when you save your original Photoshop document.
7. Print Your Cards
Now, your business cards are ready to be printed whenever you choose.
If you are printing from your home or office, you should be sure that you have enough ink in stock. If you have colors that are included on your card, make sure that the necessary color ink is not running low so that they will appear vibrant and professional when printed.
It might be more economical to use a professional printing service if you want to print a large volume.
Discover more options for printing your business cards online.
Want More Photoshop Tips for Professionals?
Once you realize how simple it is to create a business card in Photoshop, you might want to try other do-it-yourself projects to help your business grow.
If you are new to Photoshop, you should check out some of the excellent tutorials available online that can help you create all kinds of high-quality marketing materials.
Want more great Photoshop tips for beginners?
Check out this post that’s designed to offer a Photoshop crash course on need-to-know tips especially for beginners!