Background removal is one of the most common tasks in Photoshop. Product photographers need clean white backgrounds for e-commerce. Designers extract subjects for compositing. Social media creators isolate portraits for branded graphics. The methods available range from one-click AI solutions to meticulous manual selections, and knowing when to use each approach saves hours of unnecessary work.
Remove Background (One Click)
Photoshop's built-in Remove Background feature lives in the Properties panel when a pixel layer is selected. Click the button and the AI analyzes the image, identifies the subject, and generates a layer mask that hides the background. For subjects with clean edges against simple backgrounds, this one-click approach works remarkably well. It handles straight edges, smooth curves, and even moderately complex shapes with minimal cleanup. Start here for any background removal task. If the result is clean, you are done. If it needs refinement, move to the next technique.
Select Subject
Select Subject provides more control than Remove Background because it creates a selection rather than immediately applying a mask. Go to Select, then Select Subject. The AI generates a marching ants selection around the detected subject. From here, you can refine the selection before converting it to a mask. This is useful when you want to inspect and adjust the selection edges before committing. After running Select Subject, look for areas where the selection bleeds into the background or cuts into the subject. Use the Lasso tool to add or subtract from the selection as needed.
Select and Mask Workspace
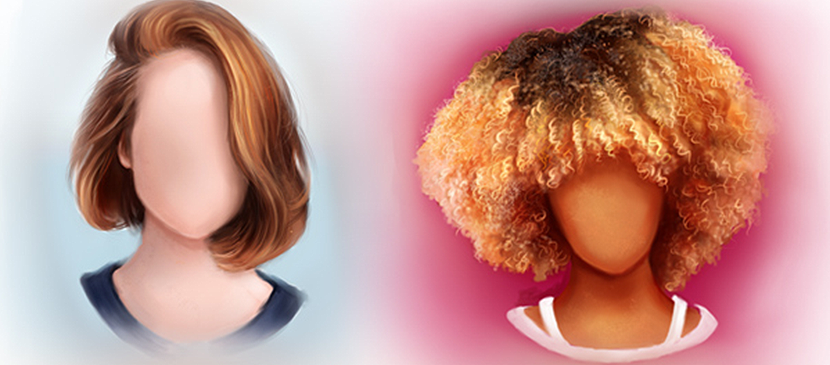
For subjects with complex edges like hair, fur, or wispy fabric, the Select and Mask workspace provides the most control. Start with any selection method, then click Select and Mask in the Options bar. The workspace opens with several viewing modes. Overlay mode shows the selection as a red mask over the original image, making it easy to spot problem areas.
The Refine Edge Brush is the key tool here. Paint along hair edges and the algorithm detects individual strands and separates them from the background. Adjust the Radius slider to control how far the edge detection extends. The Smooth, Feather, Contrast, and Shift Edge sliders fine-tune the selection boundary. Decontaminate Colors removes background color fringing that often appears along the edges of hair and translucent subjects. Output the result as a new layer with a layer mask for maximum flexibility.
Pen Tool for Hard Edges
Product photography and architectural subjects often have clean, geometric edges that the Pen tool handles better than any AI selection. The Pen tool creates precise Bezier curves that follow smooth contours exactly. Click to create straight segments and click-drag to create curves. Work around the entire subject to create a closed path. Convert the path to a selection and apply it as a layer mask.
The Pen tool is slower than AI methods but produces pixel-perfect edges. For subjects like watches, bottles, electronics, and furniture, the time investment pays off with edges that are cleaner than any automatic selection can produce. Zoom to 200 or 300 percent while working to ensure your path follows the exact contour of the subject.
Channels for High-Contrast Subjects
The Channels technique works well when there is a strong contrast between the subject and background. Open the Channels panel and click through the Red, Green, and Blue channels to find the one with the most contrast between the subject and background. Duplicate that channel. Use Levels or Curves to push the contrast further, making the subject pure white and the background pure black, or vice versa. Load the modified channel as a selection by holding Ctrl or Cmd and clicking the channel thumbnail. Return to the Layers panel and apply the selection as a mask.
Cleaning Up Edges
Regardless of which selection method you use, edge cleanup is often necessary. Zoom in and examine the mask at 100 percent or higher. Common issues include background fringing, where a thin line of background color remains along the subject edge, and stair-stepping, where curves appear jagged. Use a small, soft brush on the layer mask to paint black over fringing and white to recover any subject detail that was accidentally removed. A 1 to 2 pixel feather on the mask edge smooths minor jaggedness without losing sharpness.
Non-Destructive Workflow
Always use layer masks rather than deleting pixels. A mask preserves the original image data and lets you refine the selection at any time. If you need to bring back a section that was masked out, paint white on the mask. If a new area needs to be hidden, paint black. This flexibility is essential for complex compositing work where you may adjust selections multiple times as the overall composition evolves.
Batch Processing
For product photography workflows that require removing backgrounds from dozens or hundreds of images, record an Action that applies the Remove Background step and saves the result. Run the Action through File, Automate, Batch to process an entire folder. Review the results and manually fix any images where the AI struggled. This approach turns hours of repetitive work into minutes of automated processing plus a brief review pass.
Background removal in Photoshop has never been faster or more accurate. Start with the AI tools, move to Select and Mask for complex edges, and use the Pen tool for precision work. The combination of these techniques handles any subject you will encounter.