

How to Make a Metallic Text Effect
This tutorial will show you how to use the duplicate with transformation technique to create …
April 28, 2015
Photoshop Tutorial, Text Effect
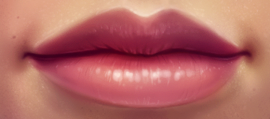
Drawing a Human Lip in Photoshop
This shows you a work through of making a realistic human lip. You can have …
April 26, 2015
Drawing Effect, Photoshop Tutorial
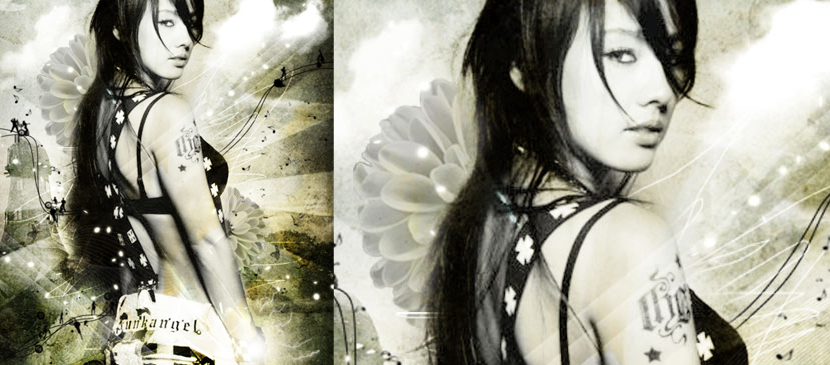
Manipulating a Retro Photo for a Lady
This is going to show you to manipulate a retro photo for a lady. It …
April 25, 2015
Photo Effect, Photoshop Tutorial

Step by Step to Make a Cool Teenager Portrait
Portraits are usually drawn using brushes. Here will show your the work through to make …
April 23, 2015
Drawing Effect, Photoshop Tutorial

Inspiration of Artwork for Superhero – Metallic Batman
Some of you may love superhero a lot. To enhance the superhero’s style, you may …
April 22, 2015
Drawing Effect, Photoshop Tutorial

Tips for Painting a Fat Man Portrait
In order to draw a good caricature, it’s necessary to develop your skills of observation. …
April 21, 2015
Drawing Effect, Photoshop Tutorial

Work Through to Paint a Cartoon Character
This will show you to paint a foxy woman artwork. You will see how the …
April 20, 2015
Drawing Effect, Photoshop Tutorial
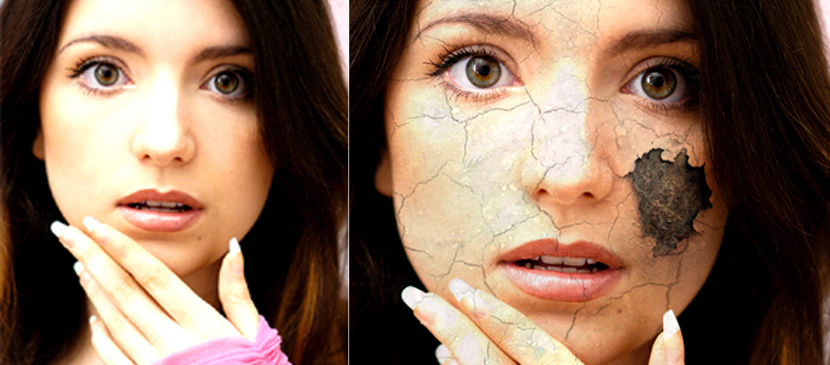
Simply Apply Cracking Effect to your Image
You may come up with plenty of ideas in your head, but you may not …
April 18, 2015
Photo Effect, Photoshop Tutorial
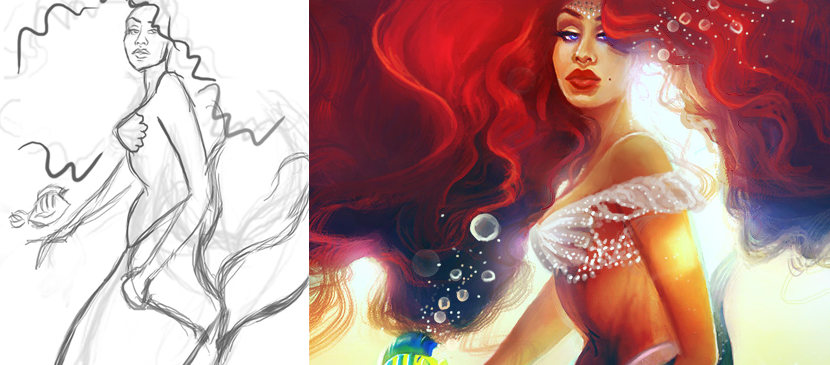
Painting a Cartoon Mermaid Simply
You may see lots of lovely stories about mermaid when you were little while. Here …
April 16, 2015
Drawing Effect, Photoshop Tutorial

Simply Manipulating a Romantic Night Scene
In this tutorial you will learn how to create an emotional photo manipulation using advanced …
April 15, 2015
Photo Effect, Photoshop Tutorial
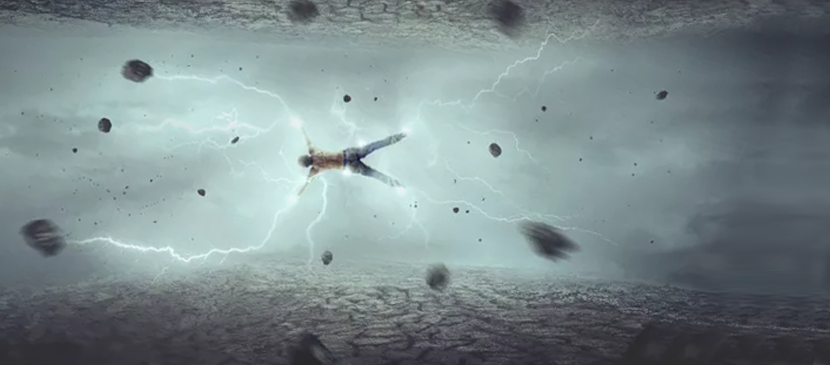
Making a Super Lightning Power
You may see lots of lovely stories about mermaid when you were little while. Here …
April 14, 2015
Drawing Effect, Photoshop Tutorial

Surreal Composition for a Time Loss Scene
In this lesson you will learn how to create a surreal composition in Photoshop. The …
April 13, 2015
Photo Effect, Photoshop Tutorial