

How to Create Sea Foam Textured Text or Shapes
The sea always leaves sweet memories, waves, seashells and sea foams. So, how about creating …
September 23, 2015
Photo Effect, Photoshop Tutorial, Text Effect
Vertical Photo Panels Effect With Photoshop
In this Photoshop tutorial, we’ll learn how to create the illusion that a single photo …
September 16, 2015
Photo Effect, Photoshop Tutorial
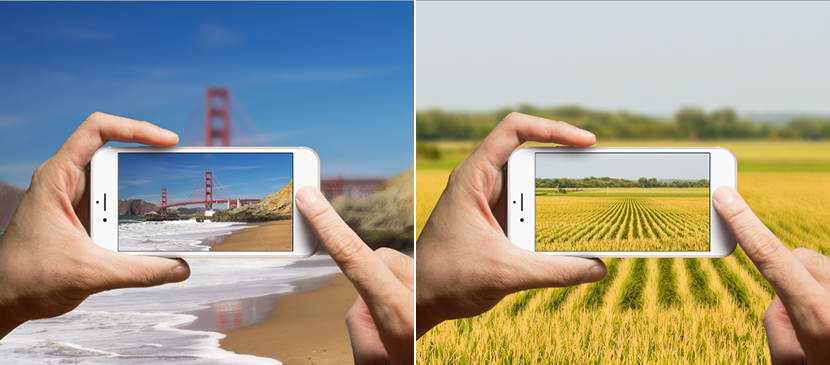
Create a Camera Phone Mock-Up Using Photoshop Smart Filters
Photoshop Smart Filters are one of the greatest things about Smart Objects. When you apply …
September 10, 2015
Photo Effect, Photoshop Tutorial
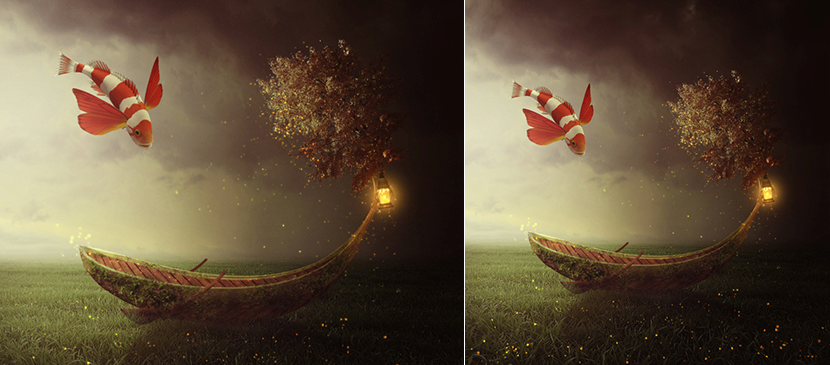
Easy Create a Fantasy Boat Scene Photo Manipulation
We are going to create a dreamy grass scene featuring a fantasy boat. Manipulating techniques …
September 8, 2015
Photo Effect, Photoshop Tutorial
Create an Isometric Pixel Art Park in Adobe Photoshop
This tutorial is part of a series called Isometric Pixel Art. We had a lesson …
September 1, 2015
Drawing Effect, Photoshop Tutorial
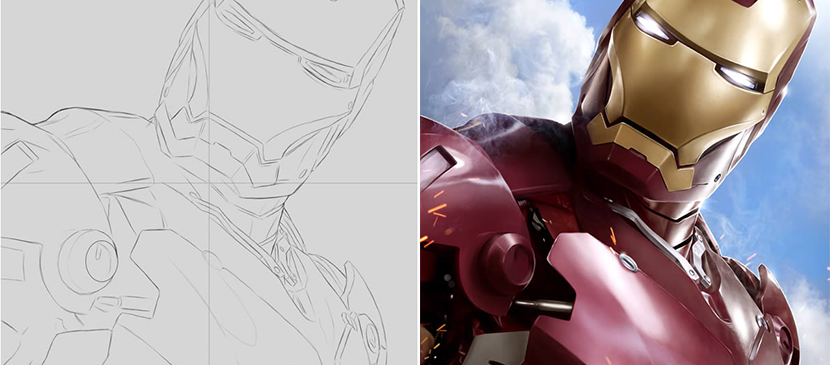
Create Stunning “Iron Man” Fan Art From Scratch
This tutorial will explain how to create stunning “Iron Man” fan art in Photoshop using …
August 31, 2015
Photo Effect, Photoshop Tutorial
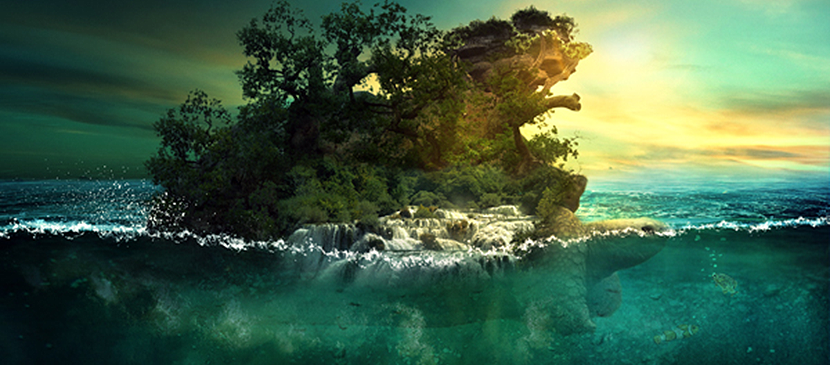
Create an Aquatic Photo Manipulation of a Giant Tortoise
To create an aquatic giant tortoise, you need to manipulate trees, stones, waterfalls and textures …
August 27, 2015
Photo Effect, Photoshop Tutorial
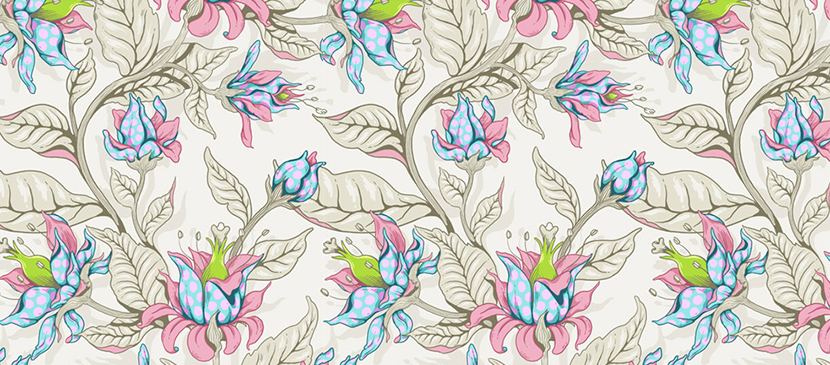
Create a Seamless Fantasy Floral Pattern in Adobe Photoshop
Have you wished to design a floral pattern to do your DIY sewing or home …
August 25, 2015
Photoshop Tutorial, Texture & Patterns
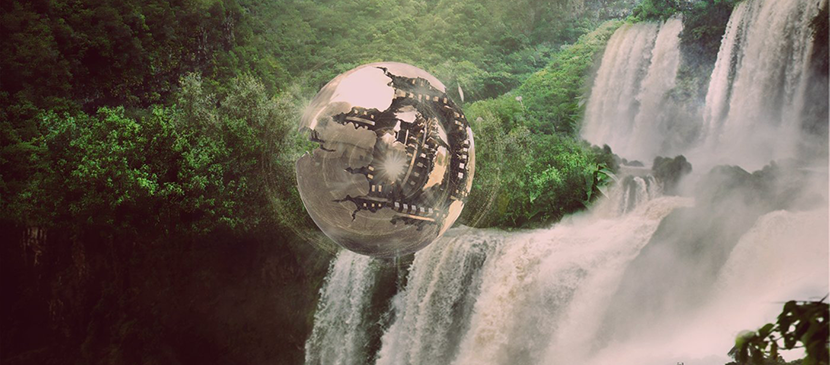
Compose a Fantasy Landscape Photo Manipulation
Have you ever tried to create a fantasy landscape combining different photos while blocked by …
August 24, 2015
Photo Effect, Photoshop Tutorial
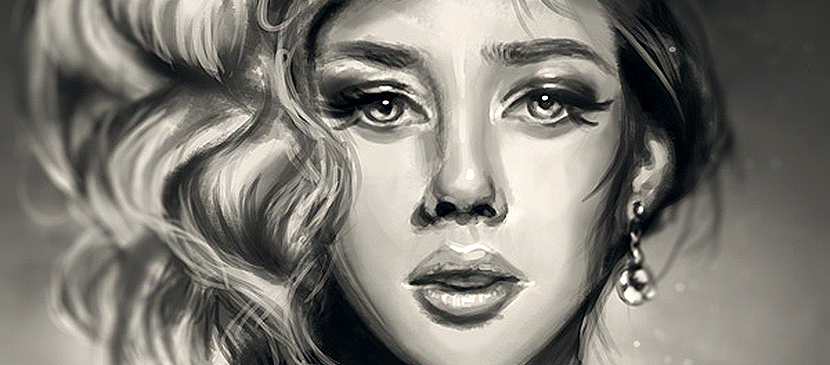
How to Create a Digital Portrait Painting in Adobe...
Have you ever wanted to paint yourself or a friend, but struggled with making your …
August 19, 2015
Photo Effect, Photoshop Tutorial
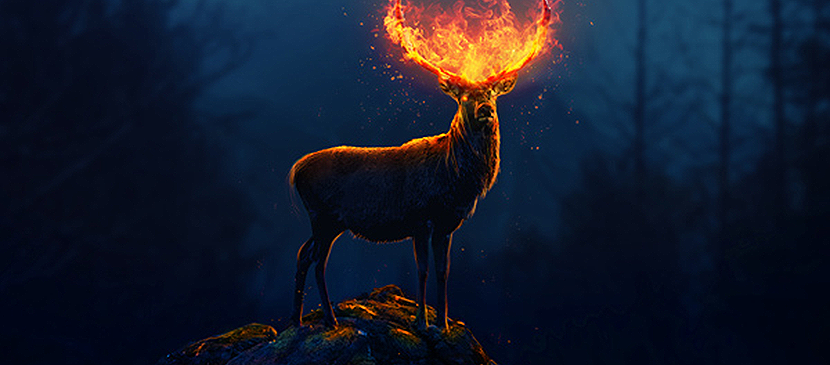
Photoshop Effect of Creating a Flaming Deer
Have you ever thought of creating a fantasy deer with a fire effect? The deer …
August 18, 2015
Photo Effect, Photoshop Tutorial
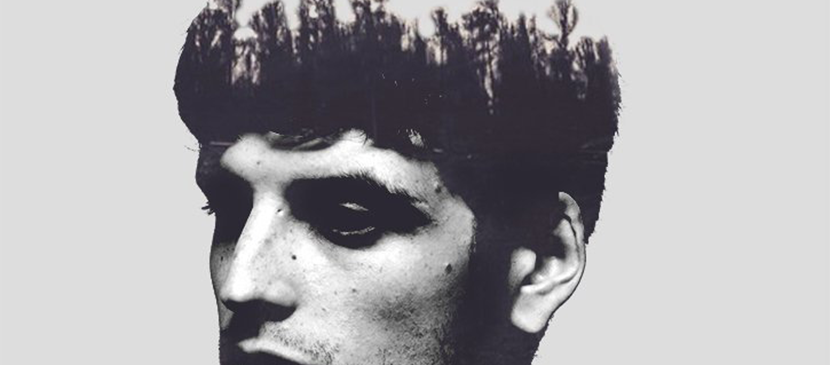
How to Make a Trendy Double Exposure Effect
This tutorial will help us create a stylish double exposure portrait by combining two images …
August 17, 2015
Photo Effect, Photoshop Tutorial