
Featured
6 Way to Upgrade the Look...
Your website can be two things: an asset, or just there. The difference between the two can be very subtle, but have an online asset can drive business like you’ve never imagined. So, …
July 15, 2020
Photo Effect
Featured Recently

8 Photoshop Tips and Tricks...
July 15, 2020
Photoshop Tutorial


Where do I look to...
July 2, 2020
Photo Effect
Latest Posts

A Quick Guide to Photo Organization For Macbooks
There’s nothing worse than spending hours searching for an image on your computer. Between old …
October 19, 2021
Uncategorized
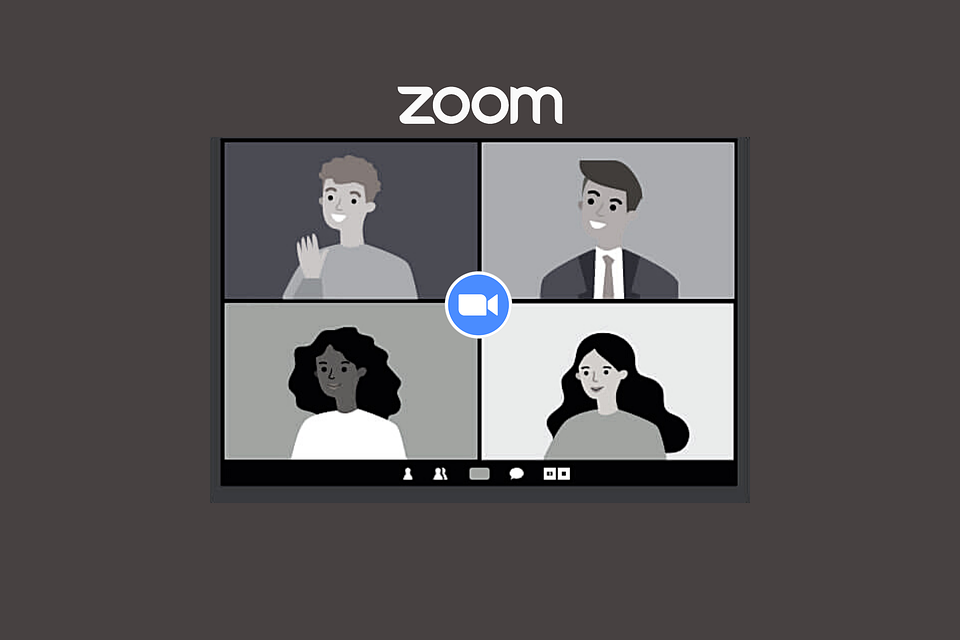
What Is The Ideal Zoom Room Background
With the pandemic ravaging the world all over, companies and individuals have been forced to …
August 11, 2021
Uncategorized

Pros and Cons of Photography and Videography in Visual...
Do you remember a time when there was only text on the internet? Or when …
December 29, 2020
Uncategorized

Great Homes with Mid Century Modern Furniture
A beautiful house is never complete without comfortable furniture that coordinates with the style of …
September 17, 2020
General

How to Make Your Personalized PhotoBook Easily
Photographs are an incredible tool for preserving memories in tangible forms. Not only it captures …
September 1, 2020
Uncategorized

Computer Nightmares: 7 Effective Tips for Hard Drive Recovery
Looking for ways to perform hard drive recovery? Many things can go wrong while you’re …
August 14, 2020
Uncategorized
6 Way to Upgrade the Look of Your WordPress
Your website can be two things: an asset, or just there. The difference between the …
July 15, 2020
Photo Effect

8 Photoshop Tips and Tricks All Photographers Should Know
Sixty-eight percent of adults edit their selfies before sharing them with anyone. Statistics show the …
July 15, 2020
Photoshop Tutorial

5 Things You Should Keep in Mind Before Starting...
Starting a website can be a fun journey for some of the tech wizards out …

How to Find the Best Free WordPress Hosting
Website owners can spend hundreds of dollars a month on web hosting alone! But if …
July 14, 2020
Uncategorized

A Beginner’s Guide to SharePoint
Microsoft’s SharePoint has been a hit with businesses large and small for its extensive capability …
July 3, 2020
Uncategorized

Where do I look to find the best Anime?
Japanese anime is a popular entertainment option for both kids and adults. To review the …
July 2, 2020
Photo Effect